In order to make sure my sculpture will be structurally sound, and that the concept will work in general, I made a mini version of what I wanted the sculpture to be like.
I worked out that for my main sculpture I wanted the dimensions of each face to be about 320mm tall, 180mm at the widest point and 140mm at the least wide point.
So I will make the developmental model at half the scale, so about 160mm tall, 90mm at the widest point and 70mm at the least wide point.
Here are the steps I took to make said maquette:
 |
| my measurements (approx) |

I drew the dimensions of the shape onto the paper..


The flaps wont work properly if they're this shape, they need to taper at the ends to make sure they dont stick out anywhere and look unsightly.

This is one of the finished sides, so I then replicated it 3 times, and could begin making my maquette properly..
Now that the structure was made, I was free to design the pattern that I would cut out of the side panels..
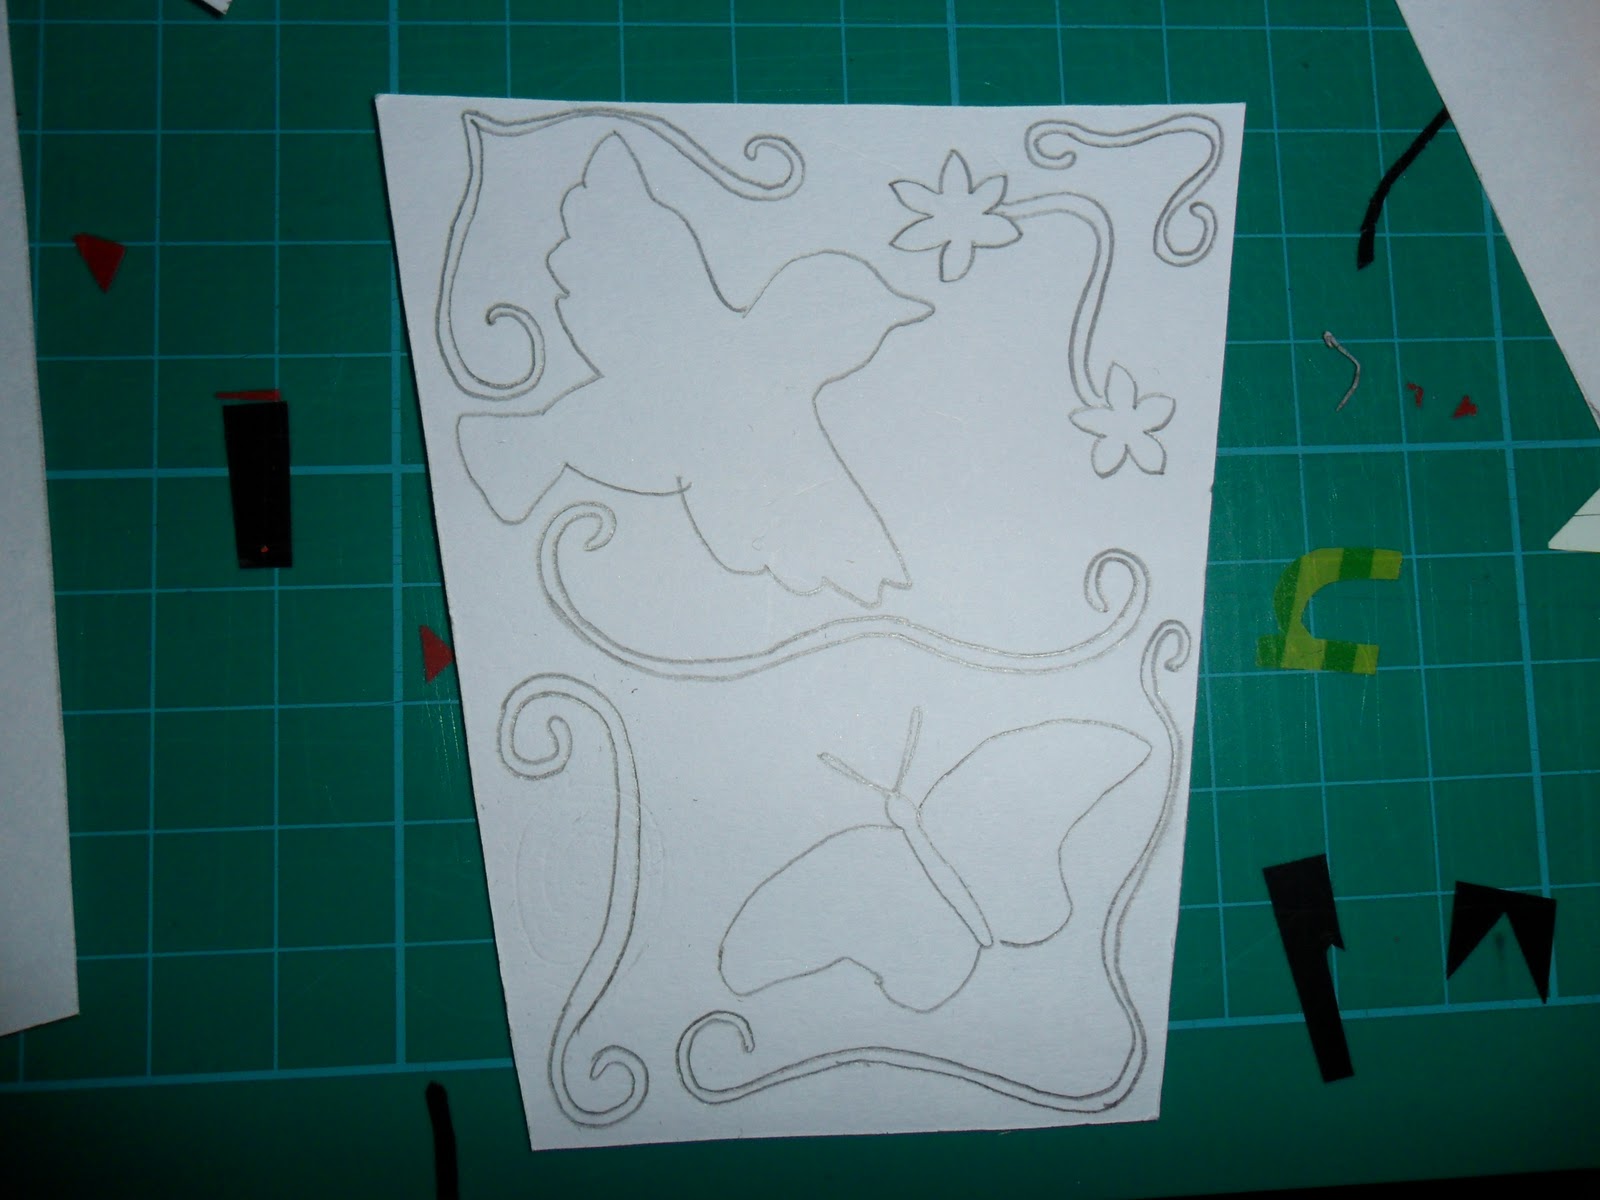
This is the pattern I designed for it, using the themes of nature that I have enjoyed researching the whole way through this project..
Measuring the hole for the cut out..

Cutting the hole..

How it will look..

Cutting out...


Below is the finished cut out, there is a slight fault in the left hand side; I have cut too close to the edge. When I do the real thing I think I'll make a border to avoid this happening. It shouldn't affect how the maquette looks anyway because I made the cut out slightly bigger than the hole it is going to be fixed behind..


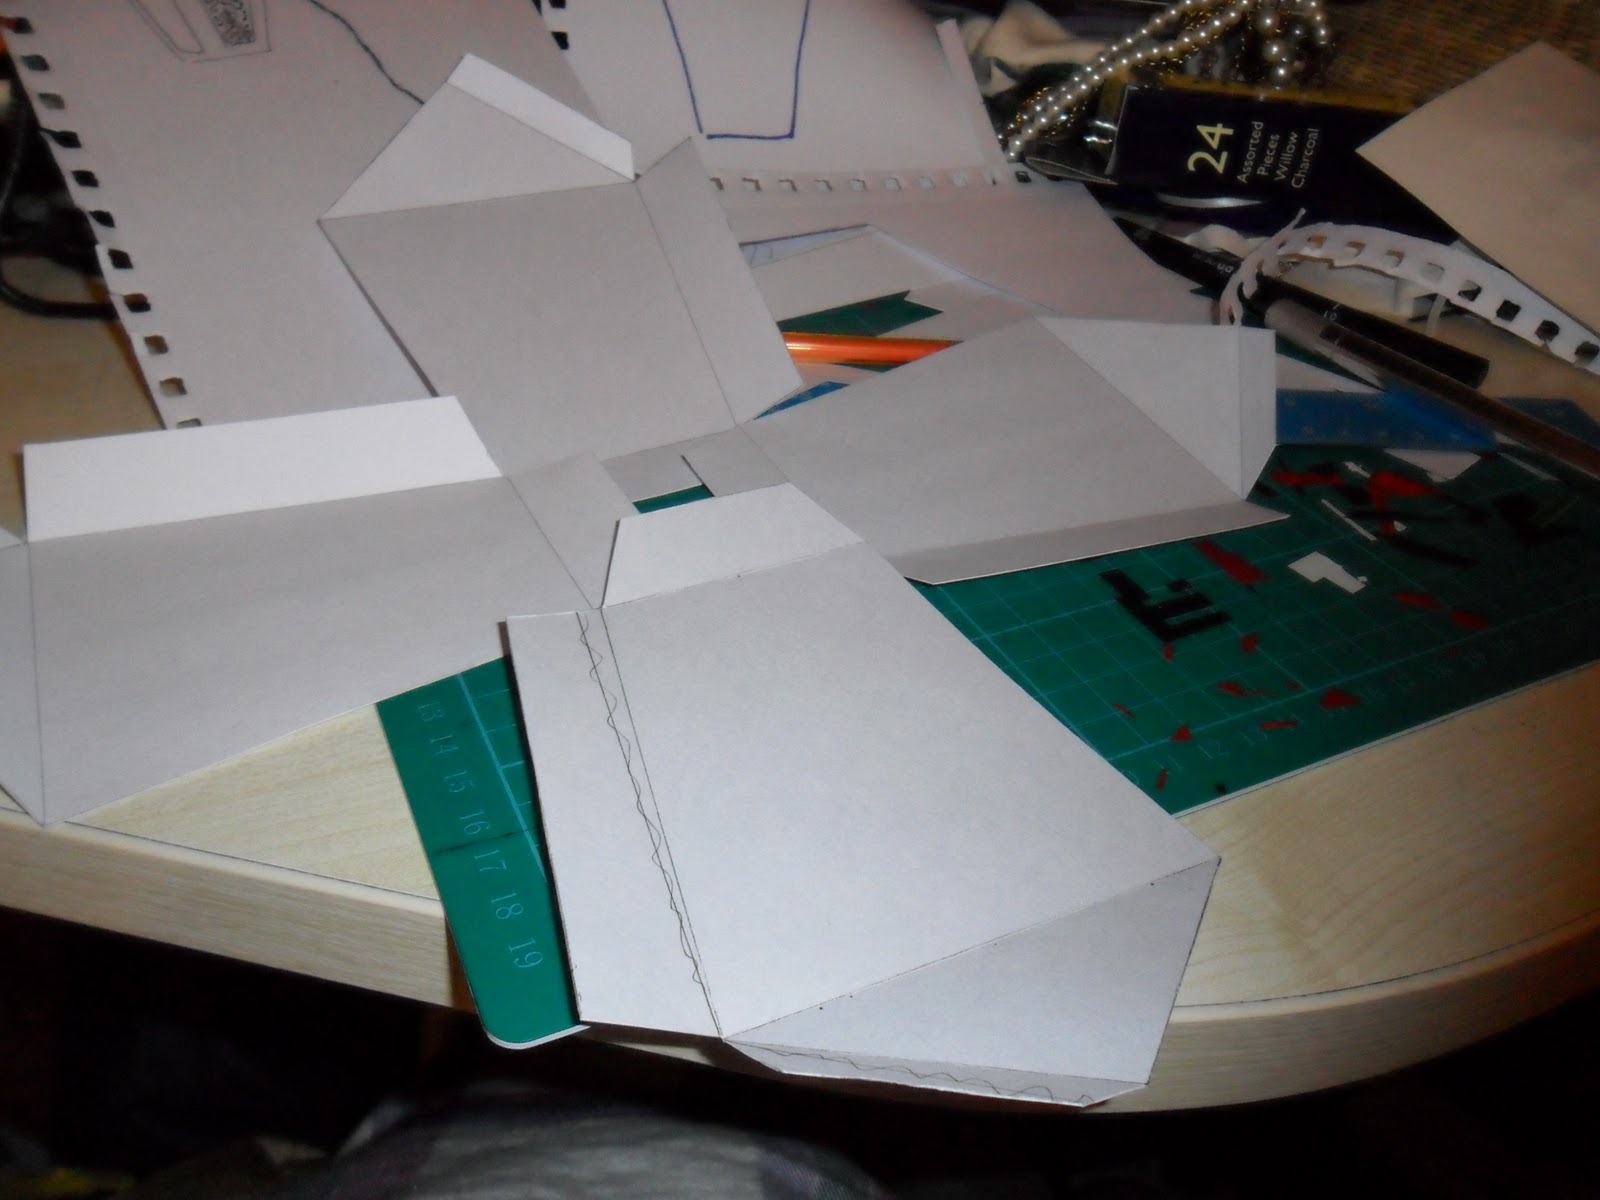
The finished net will look like this (when the final side is added of course)..

When cutting the tabs, I'd forgotten to take into consideration that there will be a hole in each of the sides, and that any tabs would have to be small enough to not pertrude the hole..


Unfortunately the 'roof' of the sculpture didnt fit together, this is because I'd made the section of the model smaller as I thought it looked too big! Whoops!


Finally, I found some brown paper and thought it would look nice to include it in my design, as the colour looks really nice with the white; giving it an extra edge...

Now to make the real thing!
laine.x
No comments:
Post a Comment