I decided to simply times the dimensions of my maquette by two, to result in the sides of the model being approximately 320mm tall (120mm for the 'roof'), 180mm wide at the widest point and 140mm at the least wide point.
Only after completely measuring out this side of the sculpture did I realise I'd accidentily forgotten to include a tab at the bottom - FAIL. It didnt really matter though, I just used this one as a template and then drew the tabs on the consequent sides.


At that moment in time, I was worried that the structure wouldnt be strong enough, because of the large amount of surface area that had been cut out; but then I remembered that I would be re-adding this and more when I added the cut out section to the sculpture.


The final size for the piece of paper that I will cut my design into..

This is the design that I cut out of the sides of my sculpture; the whole way through this project I've been interested in implementing nature, specifically birds, butterflies and flowers, into my design and so I did just that. I copied the images of the butterfly and the bird off of images I found online, but I drew the flowers etc freehand..

This version of the design, which I took a photo of originally, is a bit too simple and so, as you can see above, I changed it slightly.

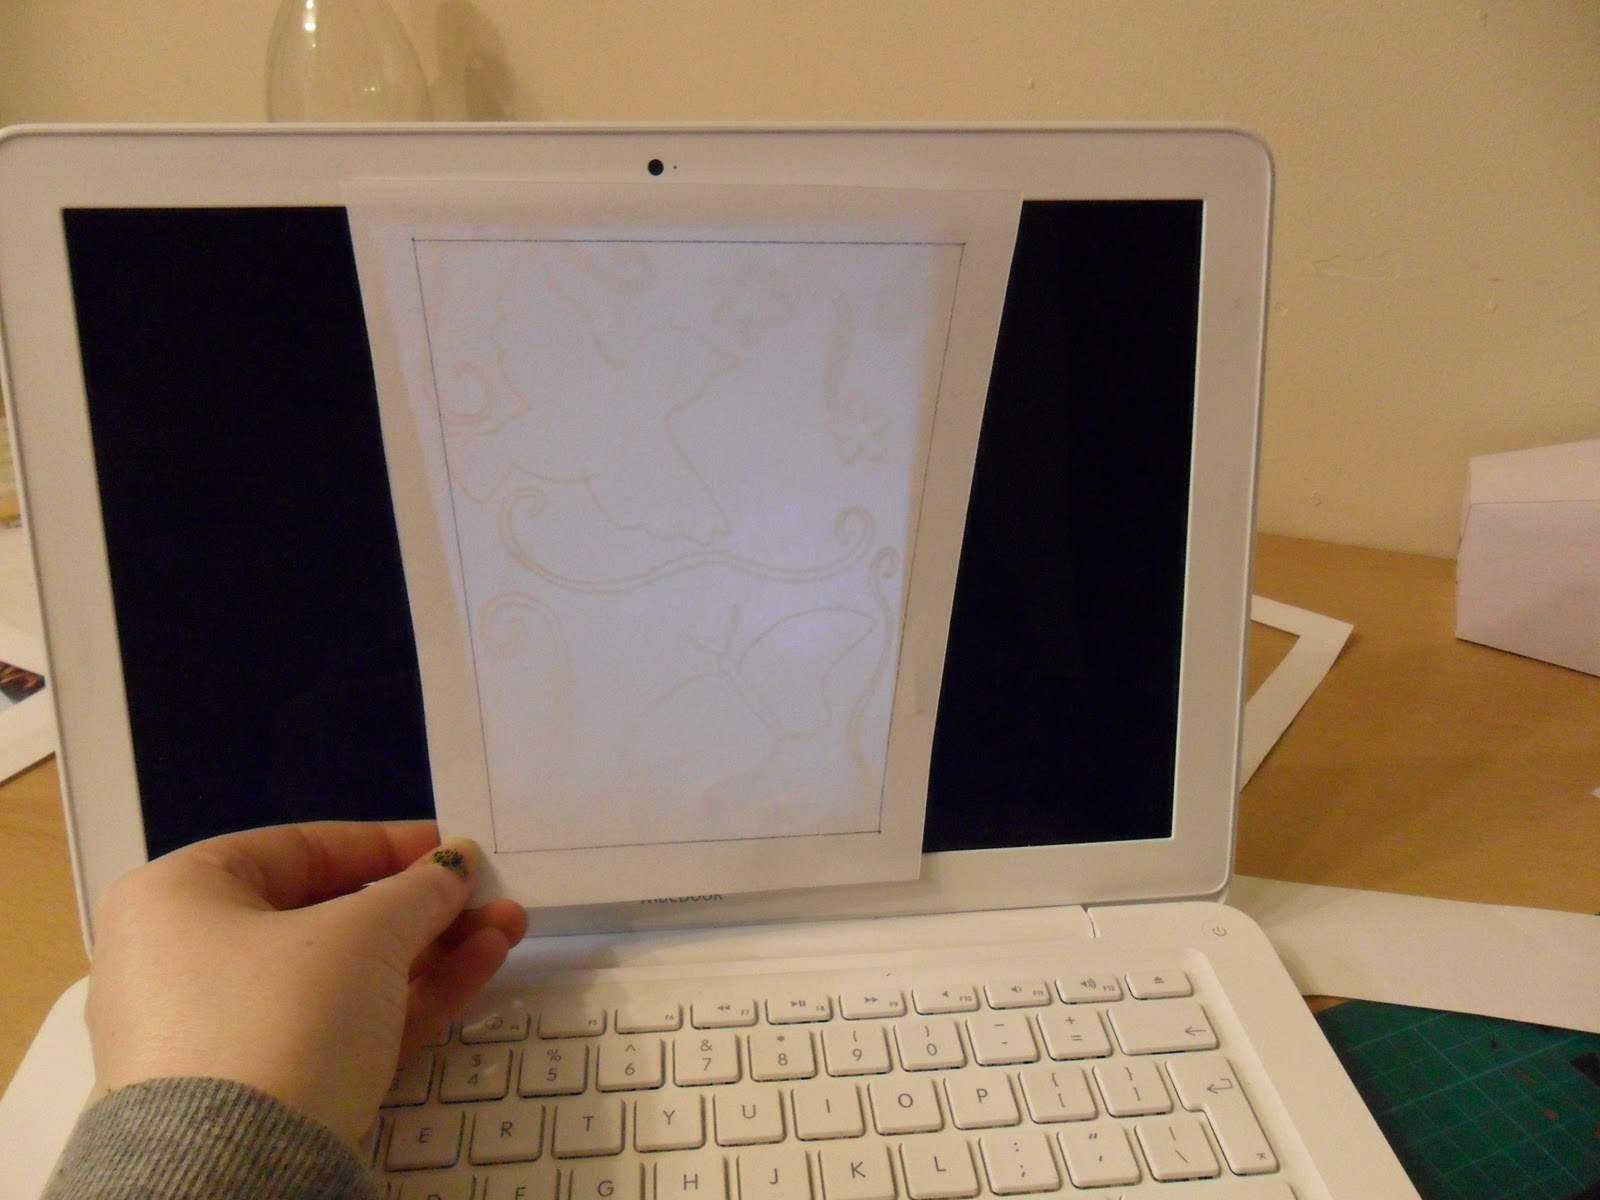
However, the reason why I have featured these outdated photographs is to demonstrate how I made sure that the design was indeed a repeat pattern on each side of the sculpture; I photographed the final design, heightened the contast on the computer and then traced it from the screen..
I had decided, since the brown paper looked nice that I would incorporate it into my design after all; but actually cut into it, so that the cut out sections appear brown from the outside :)
So once I had drawn the image onto the paper, I then measured out a piece of the brown paper to cover the back (the matte side of the paper)..


I then used spray-adhesive to fix the brown paper to the white paper firmly..


So then, I started to cut the design out of the paper, it took me a really long time to do the first one because I was wary of making mistakes; and after I had finished the first one, I had the worst cramp in my hand because of the pressure I had to apply :(
So I had to stop for a bit until my hand didnt hurt as much..

Me cutting away :P ...

Finished result..

So when I had made this one, I then went on to make 2 more (yep, only 2!). I had decided that the sculpture would look more interesting when hanging if there were more prominent angles; so I only made three sides, and the finished product is.......
Finished Sculpture.

laine.x
No comments:
Post a Comment